跳到内容
跳到内容 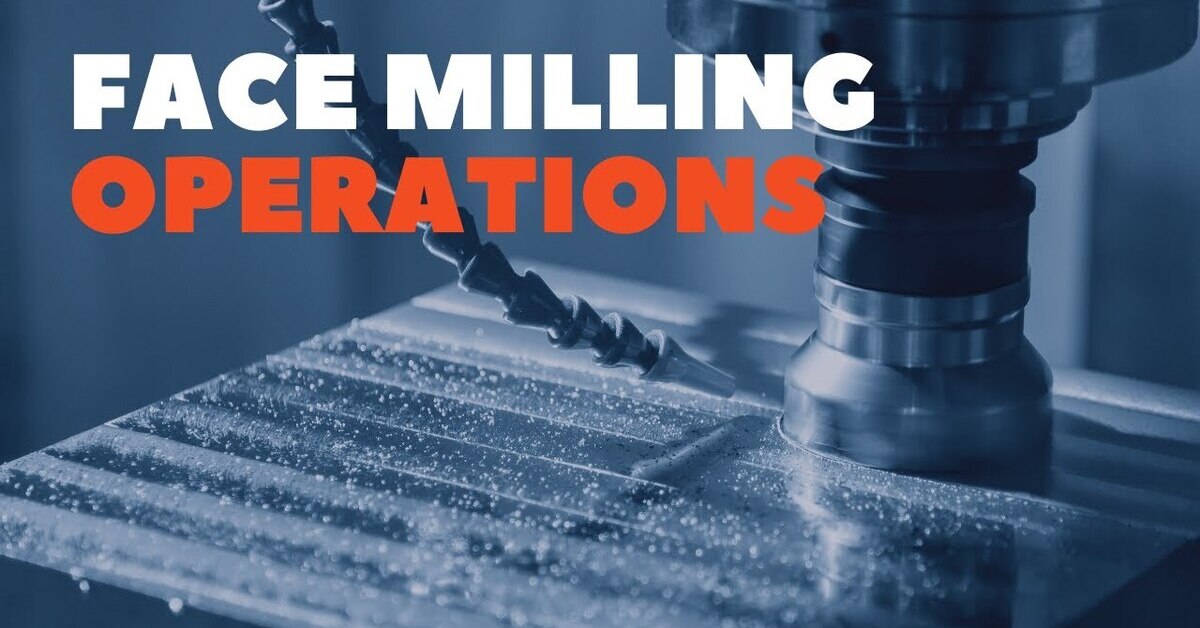
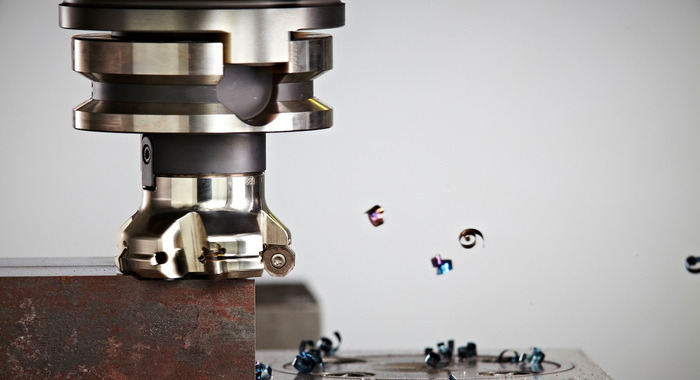
What Is Face Milling?
Face milling is a versatile machining method product engineers use to flatten and smoothen the surface of machined parts. You can use a CNC router, milling machine, or machining center to smoothen these flat surfaces. However, the difference between face milling and traditional milling processes is that the milling machine works perpendicularly to the milled parts. Common machining materials compatible with face milling include aluminum, wood, alloys, steel, bronze, cast iron, etc.
Face milling operations can be automated or manual; the feed rate is the major difference between them. The machinist will have to stop the manual mill at intervals to repeatedly align the part across the table while the feed rate for the automated face milling is more constant. As a result, the automatic face milling technique is less vulnerable to cutting errors.
How Does Face Milling Work?
Face milling is quite a straightforward process to grasp. Below are the four common segments machinists often divide the milling operations:
Step #1: Workpiece Positioning
It is best to ensure the workpiece is well placed and fastened to the machine table before face milling. It would help if you tightened the workpiece to the table to prevent dwell and chatter tendencies.
Step #2: Milling Machine Positioning
The second step involves ensuring the machining center or milling machine maintains the proper position. The milling machine must remain perpendicular to the workpiece, allowing the cutting tool’s top to mill the material.
Step #3: Regulating the Spindle Speed and the Feed Rate
The next thing to do is to adjust the speed at which the machine moves the cutter and feed rate. These two variables should be considered and regulated to the appropriate levels before machining starts.
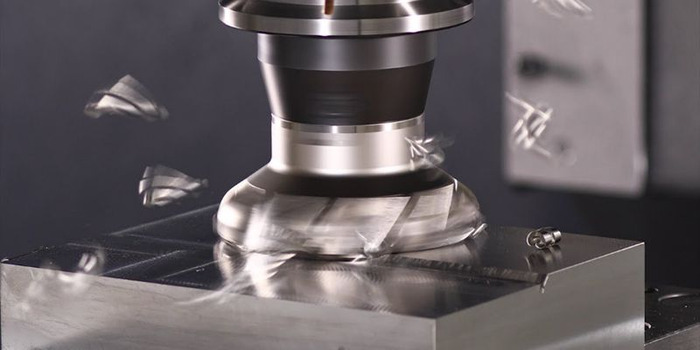
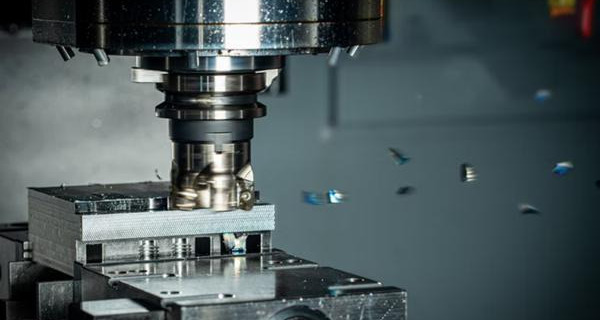
Step #4: Machining
The face milling procedure can begin once you have successfully set up the machine. However, the computer handles the machining process since you have already input the required code. It mills the preferred shape and features on the workpiece.
Common Types of Face Milling Operations
Machinists often employ various face milling operations to achieve consistent surface finishes to meet customers’ requirements. Below are the different procedures involved and optimization tips for each:
General Face Milling
General face milling is the standard custom machining process with no special considerations. However, the angle of entering is an essential factor in general face milling procedures, and the best types of face milling cutters to use are those with a 45º entering angle. Below are some optimization tips for the general face-milling process:
- The cutting tool must possess a diameter larger than the workpiece (approximately 20 – 50% maximum).
- The workpiece’s entry point must be off the center to achieve a chip-thinning effect.
- Check the spindle size and the machine’s horsepower.
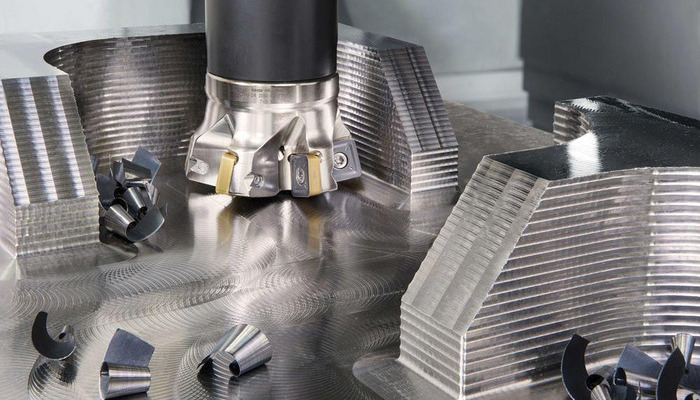
Heavy Duty Face Milling
This face milling type involves large machining centers and huge materials. Machinists remove large chunks of materials in heavy-duty machining with massive horsepower.
In this case, the ideal face milling cutter is one with a 60º entering angle. Its material removal rate help to increase productivity because it allows them to mill more materials.
Here are vital tips for optimizing these procedures:
- Use gloves when changing inserts because this face-milling operation generates high temperatures.
- Heavy-duty face milling produces a lot of chips which could litter the working space and fill the cutting path on the workpiece. However, continuous chip recutting could result in faster wearing of the inserts. Therefore, it is advisable to declutter the workspace.
High Feed Milling
This face machining type involves procedures with high feed rates and cutting speed requirements. The commonly used cutting speed is over 1000m/min. Face mills with low entering angles and high-speed rates are well-suited for this CNC milling operation.
However, the degree of entry is the only crucial factor. Since it allows a high feed rate, an entering angle of about 10º is ideal.
Finishing with Wiper Inserts
Face milling operation is perfect for aesthetic surface finish designs when you use wiper inserts with a standard insert. Wiper inserts are available in the right- and left-hand versions and different lengths. They are primarily suitable for workpiece surface finishing.
This procedure’s need for wiper inserts depends on the adopted standard insert type. Hence, if the standard insert generates higher feed per revolution, there will be an increased need for wiper inserts.
Choosing the Ideal Tooling for Face Milling
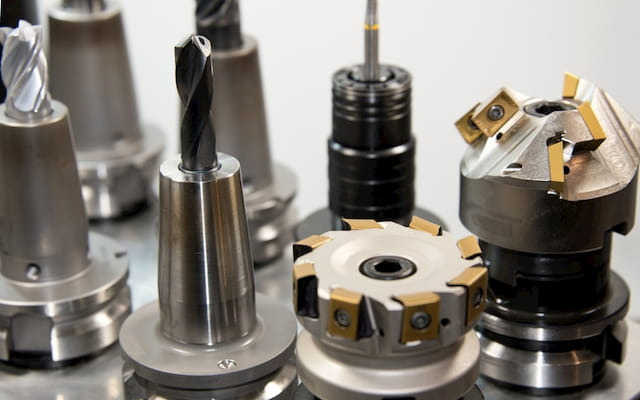
Your choice of tooling for face milling operations determines the success of your face milling process. However, the common tools used in face machining operations can be categorized into two classes based on their geometry and construction:
Classification of Face Milling Tools Based on Tool Geometry
Below is the classification of face milling tools on the basis of their geometry:
- Square-end Face Mill
These face mill types have a straight or square end without any chamfer or radius. The square-end face mills are compatible with machining operations like slotting, profiling, and plunge cutting.
- Radius-tipped Face Mill
Radius-tipped face milling tools possess cutting teeth with a ground radius on each tip. It reduces cutting flutes’ impact loading during milling, improving tool life. Nonetheless, these cutting tools are not suitable for applications requiring a perfectly square cut.
- Ball Nose Face Mill
A ball nose face mill has a ball-shaped nose with a half the cutter diameter radius. It is suitable for milling mating parts of an assembly like semicircular grooves.
- Chamfer Tipped Face Mill
The chamfer-tipped face milling cutters have angular geometry sides or ends ranging from 20 – 45º. It creates a chamfered cut on the edge of the machined part. These face mills are commonly used in machining operations such as beveling, deburring, spotting, and chamfering.
Classification of Face Milling Tools Based on Tool Construction
This section discusses the classification of face milling cutting tools on the basis of their construction:
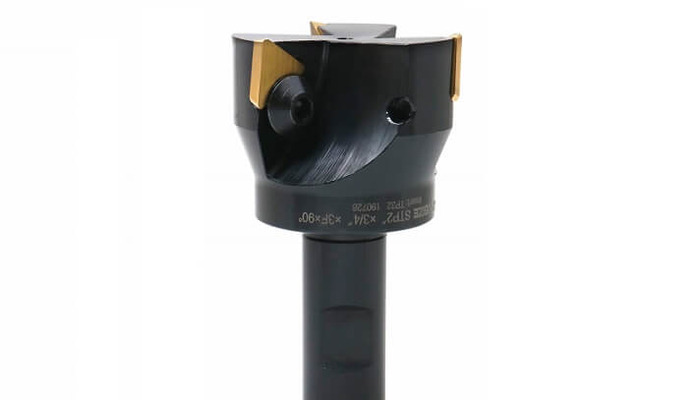
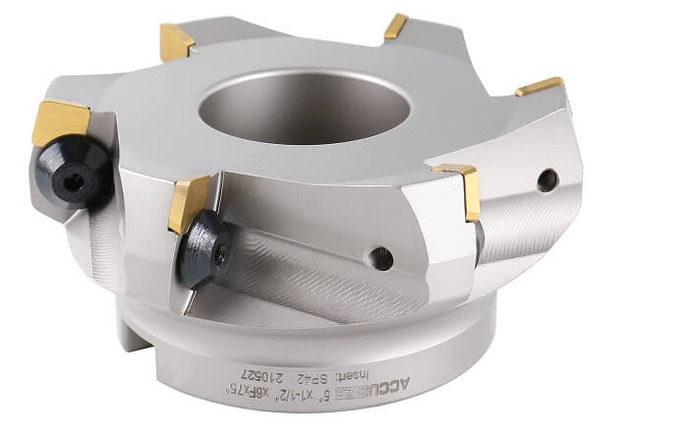
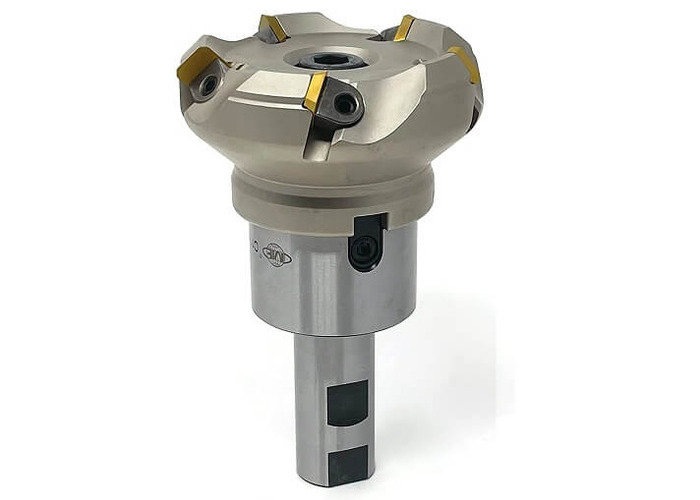
- Shell Mills
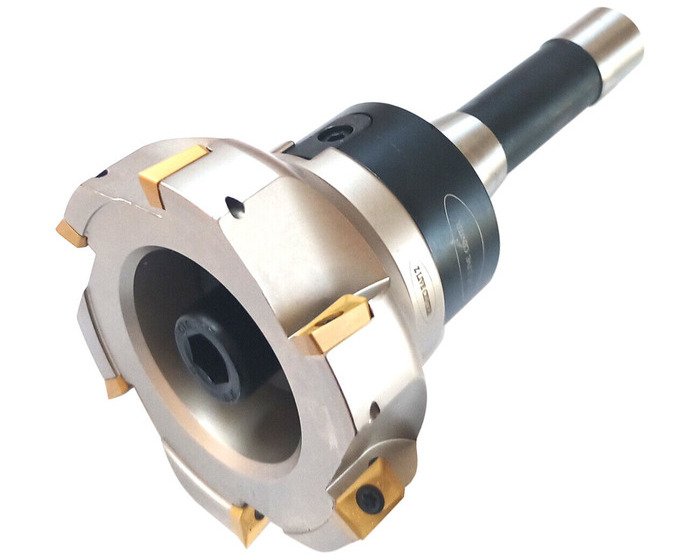
Shell mills are the common and ideal cutting tool for face milling. The face mill offers excellent and uniform surface finishes due to its multiple teeth and well-placed inserts on the edges. A shell mill’s design allows it to deliver constant cutting forces and effectively control its material removal rate.
Therefore, these mills are ideal for milling different materials because they can achieve an even machined surface. However, the machined material type will determine the rate at which you must change the milling inserts.
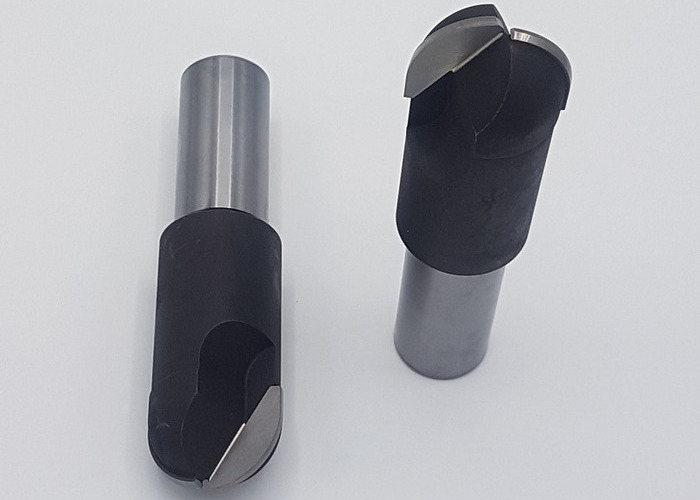
- End Mills
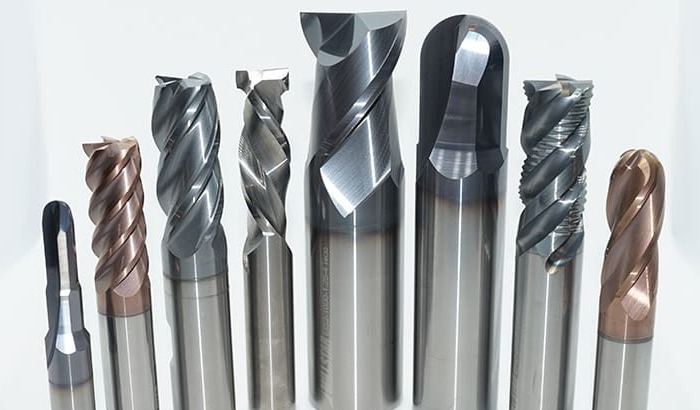
These mills have cutting edges suitable for making complex finishes on machined parts. The end mill cutters feature intricate patterns that make the tool ideal for making slots, small faces, and profiles in the surface finishing phase of product development.
However, end mills are not ideal for cutting large chunks of materials. More importantly, end mills have limitations in the compatible materials as these mills are not very strong.
- Fly Cutters
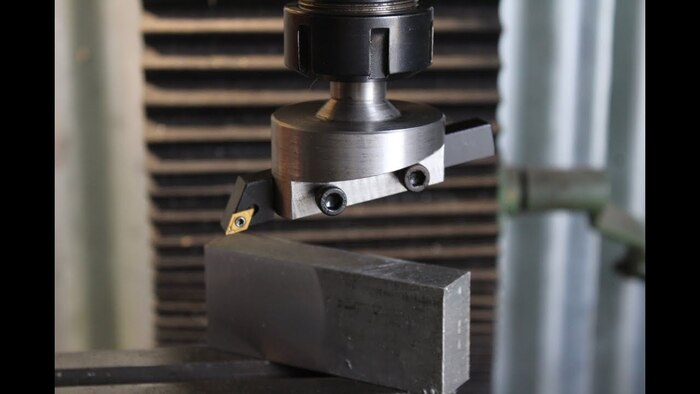
A fly cutter differs from the end and shell mills because they have only one insert and a cutting edge. Nonetheless, they are more beneficial in achieving excellent finishes without high power consumption.
However, this single-point cutting tool is ideal for milling larger surfaces and substituting high power consumption for low speeds operation. Therefore, fly cutters are your go-to tool choice if you require a fine surface finish with lower power consumption.
Engineering Tips for Selecting the Right Tool

After discussing the different types of face mills, here are tips on how to choose the ideal tools for your face milling operations:
- The shell mill is the ideal face milling cutter milling for hard workpiece material. It has the required cutting edges to cut large chunks of material at a time.
- Use end mills for aesthetic designs during face milling procedures. The multiple cutting teeth on its shank make it the best face milling cutting tool for creating numerous designs.
- It is advisable to use fly cutters for softer materials. Its low speeds mode of operation provides the required caution in milling delicate materials.
- The angle at which the cutting tool mills the workpiece is another critical factor to consider when face milling. 45 – 90º is the typical angle at which most tools enter the workpiece. However, other tools assess the workpiece within the 10 – 65º range.
- Ensure that the spindle’s speed is the same as the machine’s when milling a workpiece. Any speed mismatch can lead to quicker wear out of face mills.
- CNC face milling is much better than manual face milling because it allows high accuracy and precision. Manual face milling often requires consistent cutting path exit and reentry, which stresses the cutting edge on the machined part.
- Avoid milling over slots and holes on the machined parts, as it results in the exit and reentry of the workpiece.
Peripheral Milling vs. Face Milling: What’s the Difference?
Face and peripheral milling are two milling operations that depend on the same principles. Both processes use rotating cutters to mill the surface of a workpiece. However, the difference lies in how the rotating cutting tool removes the material.
Product engineers and machinists use vertical machining centers or lathes to face mill a workpiece. Meanwhile, the milling cutter maintains a parallel position to the workpiece in peripheral machining.
The top of the milling cutter is the only part that executes the operation in face milling. Whereas peripheral milling mills the sides of the workpiece together.
You can execute face machining with vertical and horizontal spindles. Conversely, horizontal spindles are the only ones suitable for peripheral milling.
Face milling is suitable for flat surface machining as it cuts small bits of material from the workpiece. On the other hand, peripheral machining removes large chunks of material from the workpiece.
The cutting tools employed in face milling bear cutting edges on both sides and faces. In contrast, the cutting tool for peripheral milling only has a cutting edge on the sides.
How to Optimize Face Milling Processes

Here are practical tips on how applicable to all face milling types:
Tooling Is Crucial
Ensuring that the milling tools employed suit the process when face milling a workpiece is crucial. The proper tooling provides peak productivity levels and excellent surface finishes.
Maintain a Specific Face Milling Setup
Using the same setup for other machining procedures for face machining is not advisable. Ensure you maintain specific configurations for different kinds of machining procedures. It improves the accuracy of the various machining procedure.
Ensure Your Milling Parameters Are Correct
The face milling procedure involves different technical parameters that require programming. These include feed per revolution, depth of cut, feed per tooth, etc. Ensure these milling parameters are correct before you commence the face machining. It helps to prevent unnecessary material wastage.
Use Sharp Cutting Tools
Make sure your milling tools are sharp and ready for face machining. It is not ideal to use dull cutting tools because they can easily break and slow down the process. More importantly, unsharpened cutters are ineffective in cutting more rigid materials.
AT-Machining Is Your Best Bet for Face Milling Solutions
AT-Machining is your best bet for custom face milling services. We are here to render all professional services for CNC milling and other machining capabilities. Our qualified experts have the experience and skills to handle your CNC milling metal and plastic custom parts. Let our team of professional engineers handle your prototyping and low-volume production needs; we always offer high-quality machined parts.
Our state-of-the-art CNC machines allow us to match speed with quality as we deliver your product at faster lead times. More importantly, our quality control system ensures all machined parts meet stringent quality standards. Let us handle your project today and experience competitive pricing. Contact us for a quote for your next project; let experts ease you of your machining complexities!